Along with other walls upstairs the inside of Kassi's closet had big holes knocked into it by the previous residents. I hope to make these exposed large under eave areas into storage bins/cubbies. In preparation for painting we needed to repair the walls and cut the holes for the new closet doors. Here is the "before" hole in Kassi's closet.
Since there is another close by access point for the proposed new closet I was just going to replace the drywall in her closet hole and call it good. Lamenting that I would need to go and buy another sheet of drywall and staring at the problem I had an idea to build some shallow shelves out of wine boxes and recess them into this hole.
There is a huge semi-trailer sized dumpster of wine boxes down by Oakland airport. I visit it occasionally for the infinitely useful replenishment of nice quality wine boxes.
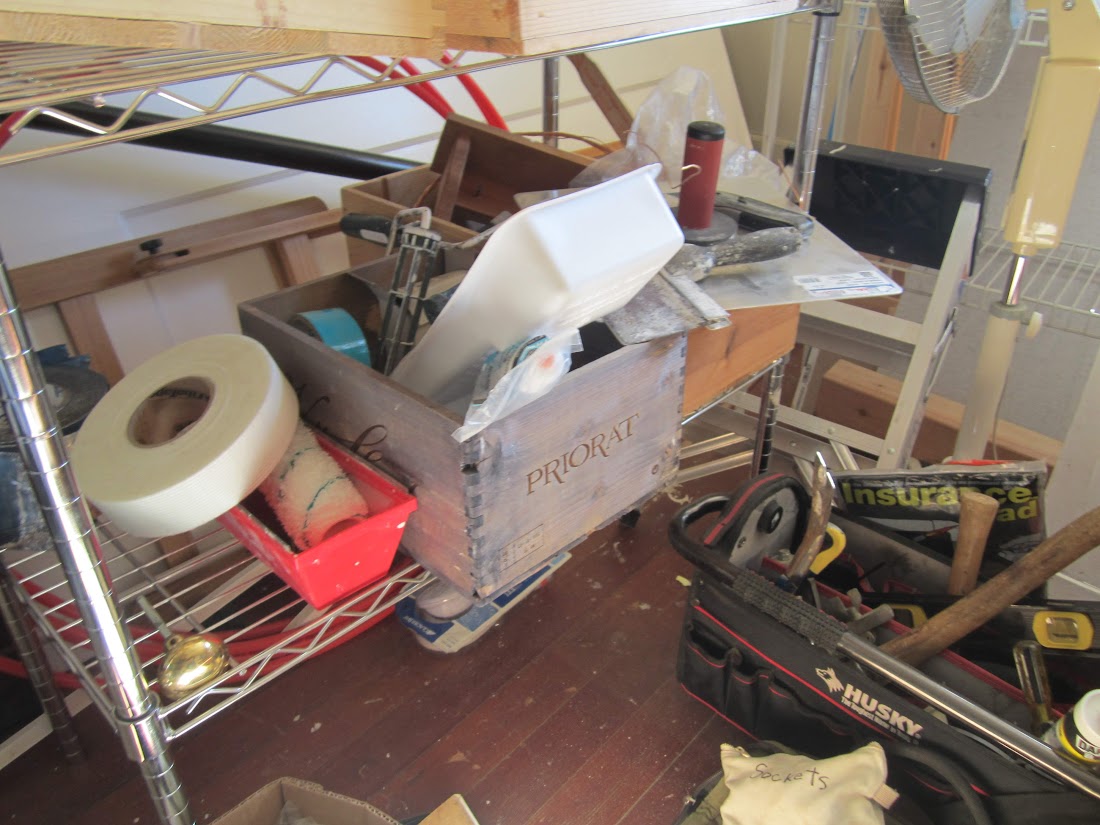
I use them for storage, fodder for shelves, and general construction of little stuff. The kids play with them and eventually turn them to rubble. When that happens I simply stop by the huge dumpster of wine boxes and reload. I had several of those "Priorat" boxes that would make a perfect set of recessed shelves.
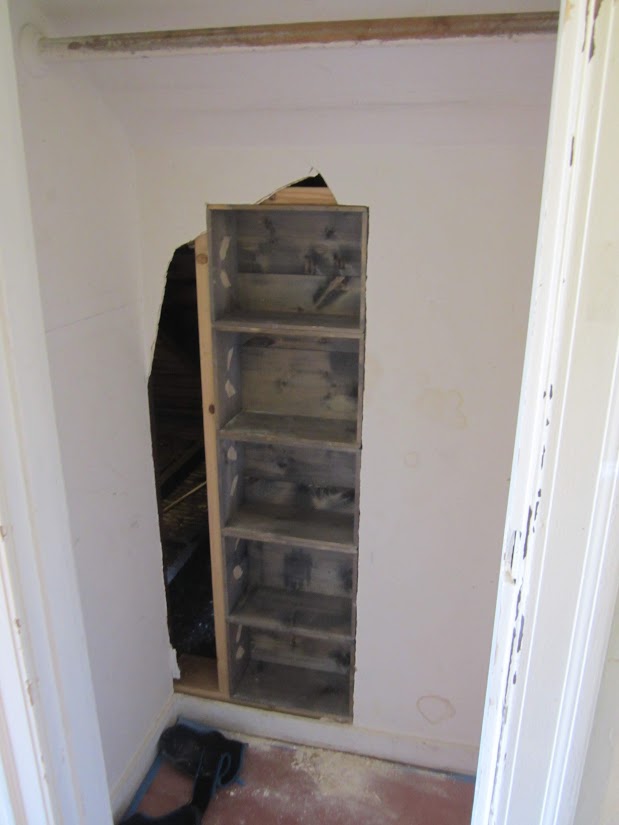
I cut out the hole a bit larger to accommodate the stacked together box shelves. After screwing them to the existing stud I added additional support.
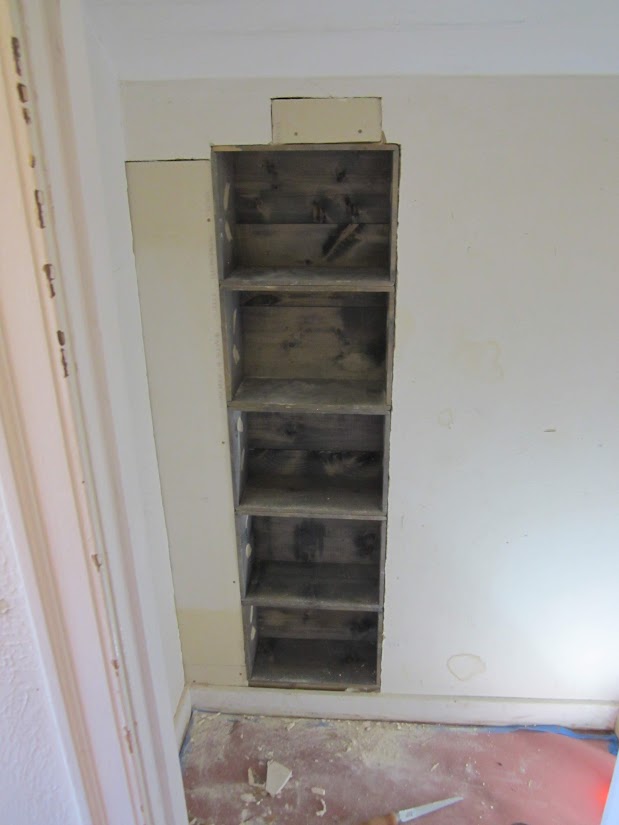
I used the very last of my remaining drywall and pieced it in to close the rest of the hole.

I taped and plastered the uneven pieces and just need to let it dry. Now it just needs some paint and trim. I'd be doing it now but I am waiting for the plaster to dry so I can paint these walls with cover/sealer/primer.
Sadly, I did discover live knob-and-tube wiring with blown-in insulation covering it during this recent work. It is a fire hazard to cover post-and-tube wiring with insulation. This means that I must rewire this entire area of the house. This news kinda knocked the wind out of my motivation for today. :(


