We are getting our kitchen cabinets from IKEA. We priced around and looked at the competition. We decided on IKEA because they have wonderfully designed modern space saving and uber-convenience features. IKEA also has an awesome kitchen designer in browser app. It is sluggish but worth the trouble.
The problem I was having is we have a couple of columns (bumps) on both long walls that support a huge beam. It was making it impossible for me to position cabinets. Originally, I was going to hack into the affected cabinets and just have the column crowd into them. Not a pretty solution. As I got more and more involved I realised that this crowding wasn't going to work on fancy cabinets because things like glass shelves and complex lighted drawers can't abide this sort of thing.
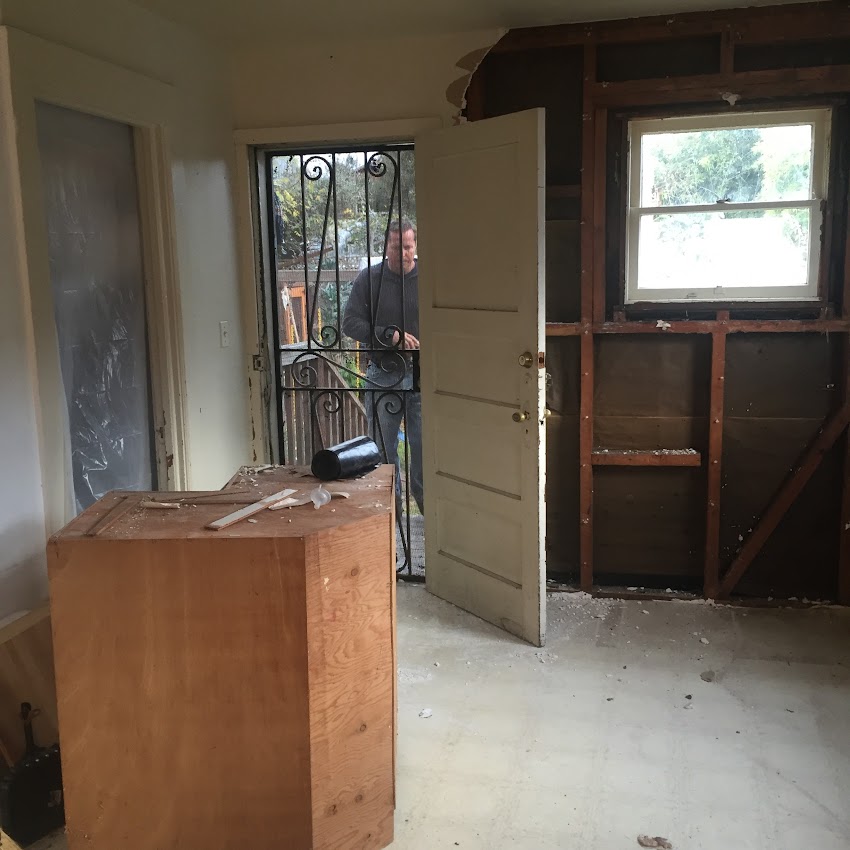
Here is one of the columns, the one on the other side of the room. They were pretty much the same.
Here is the exact beam a few days ago.
the plastic is attached to it, just to the left of Kassi.
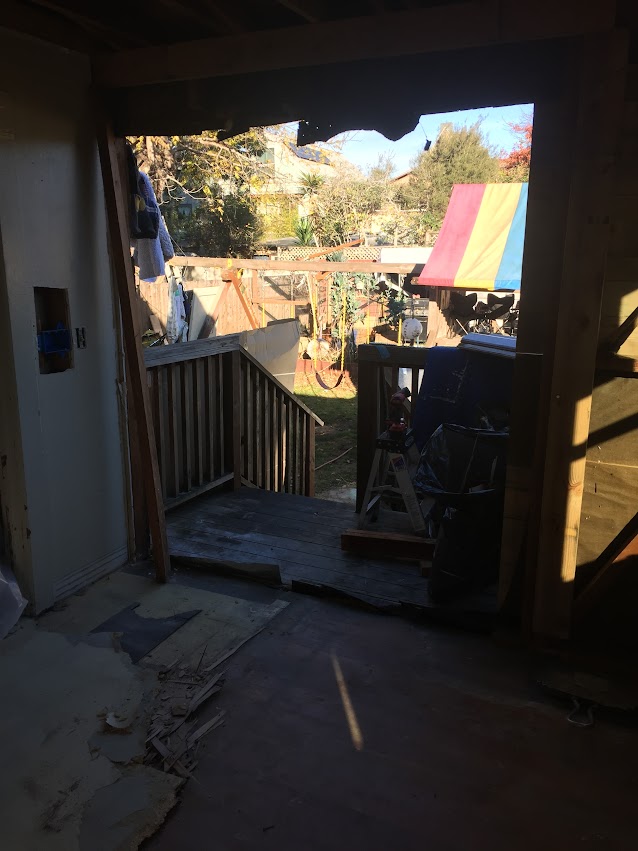
I wanted to move the support column into the wall cavity. The overhead beam didn't extend into the wall cavity so I had to get creative. I hammered in a 4by4 shoring to support the beam leaving room for me to work on the old column. I also used a bottle jack and another 4by4 to ever-so-slightly lift the beam. The house creaked in protest. My adrenaline was coursing through my body. I do stuff like this at work all the time but having a safety net of a corporation and insurance keeps my head cool. Here I cannot make any mistakes because I cannot afford them.
I had to remove the old column and floor blocking. The blocking was bad and the column was in my way. I opened up the wall bay and made room for my new beam. I still needed to attach the vertical column to the beam and decided on a steel angle bracket that I could hide within the sheetrock compound.
I went to the local steel yard and got a big piece on angle-iron. I buy steel from them for work all the time and I told them it was for me personally (almost free). I drilled the stump of angle-iron and notched my cut to length 4by4 post.
Here is what my bracket ended up looking like.
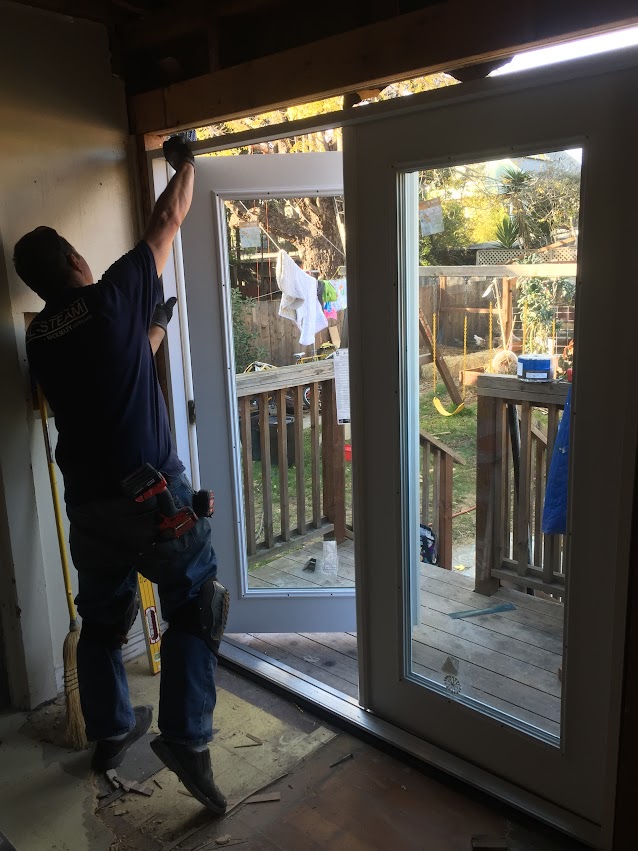
And here it the new column hidden in the wall cavity in all its glory.
Sorry, it is a bit blurry. On the left you can see my insulating efforts. I buy rigid foam insulation, cut it to fit then I foam the edges to make a hermetic seal. I cannot use fluffy fiberglass insulation because my old house doesn't have a vapor barrier and any absorbent insulation acts like a sponge and causes things to rot. Someday soon I'll insulate, hang a vapor barrier and re-side my house.